


Description
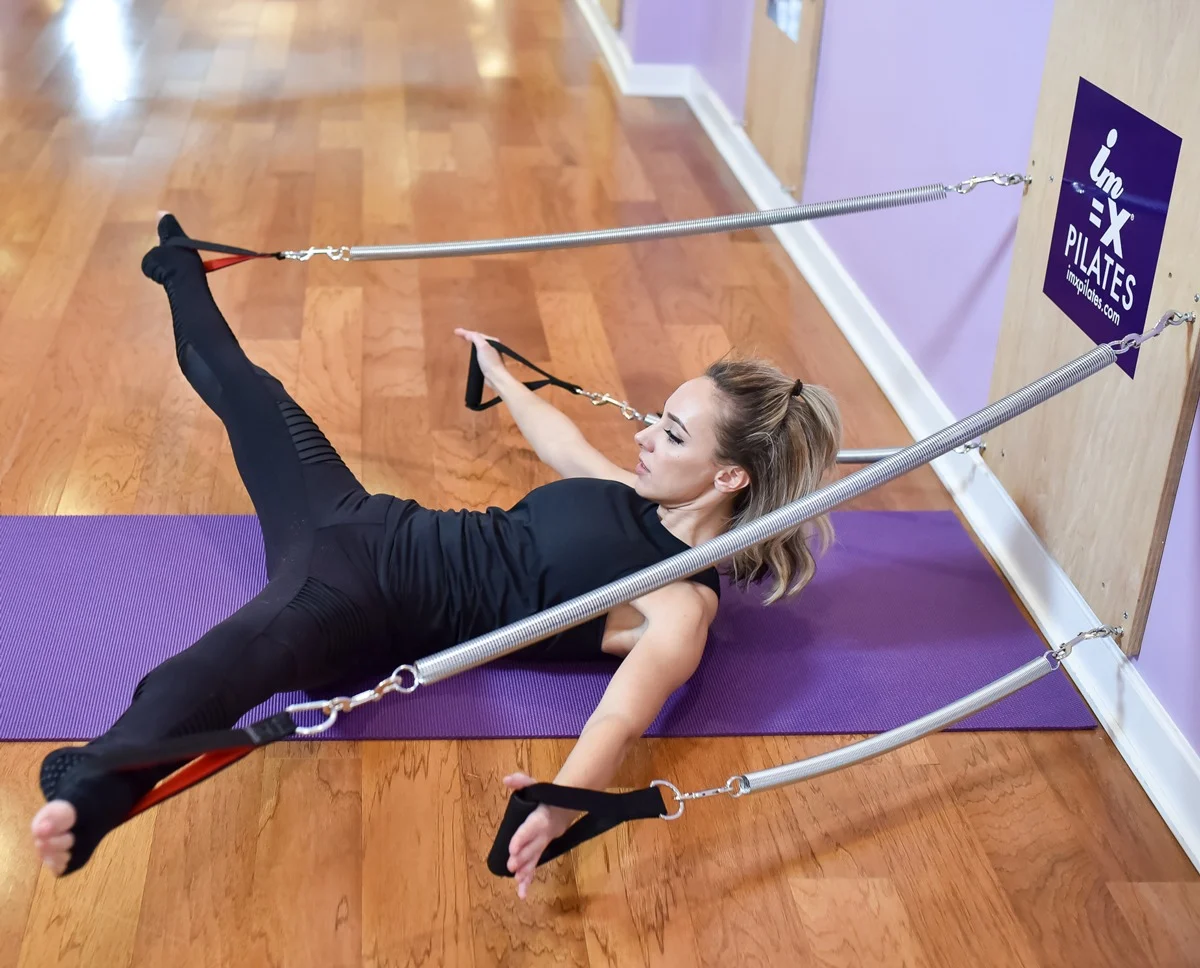
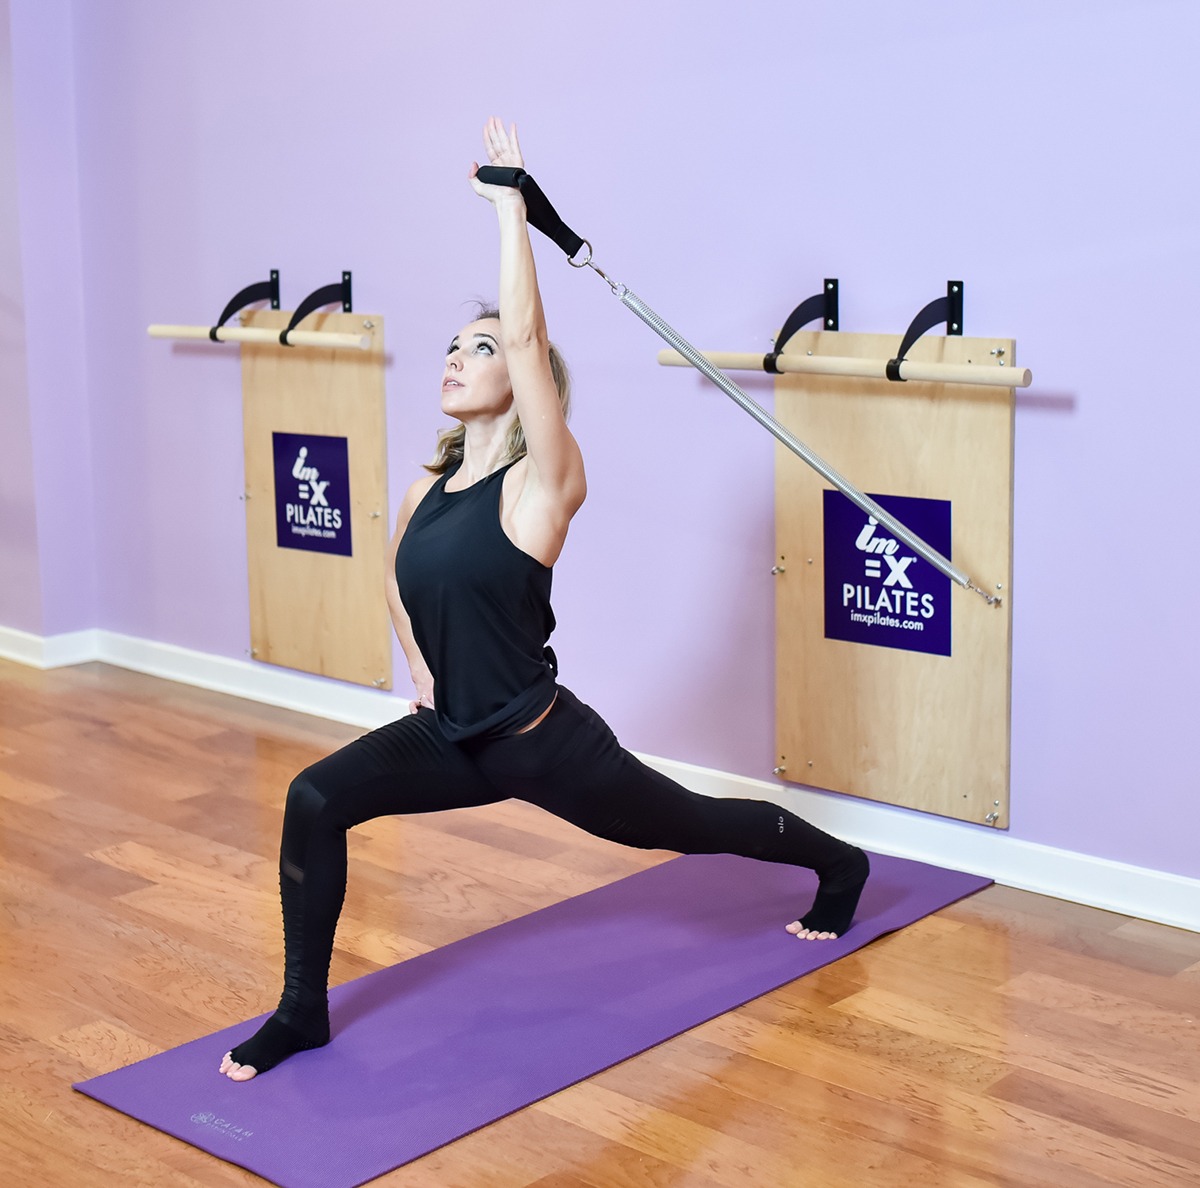
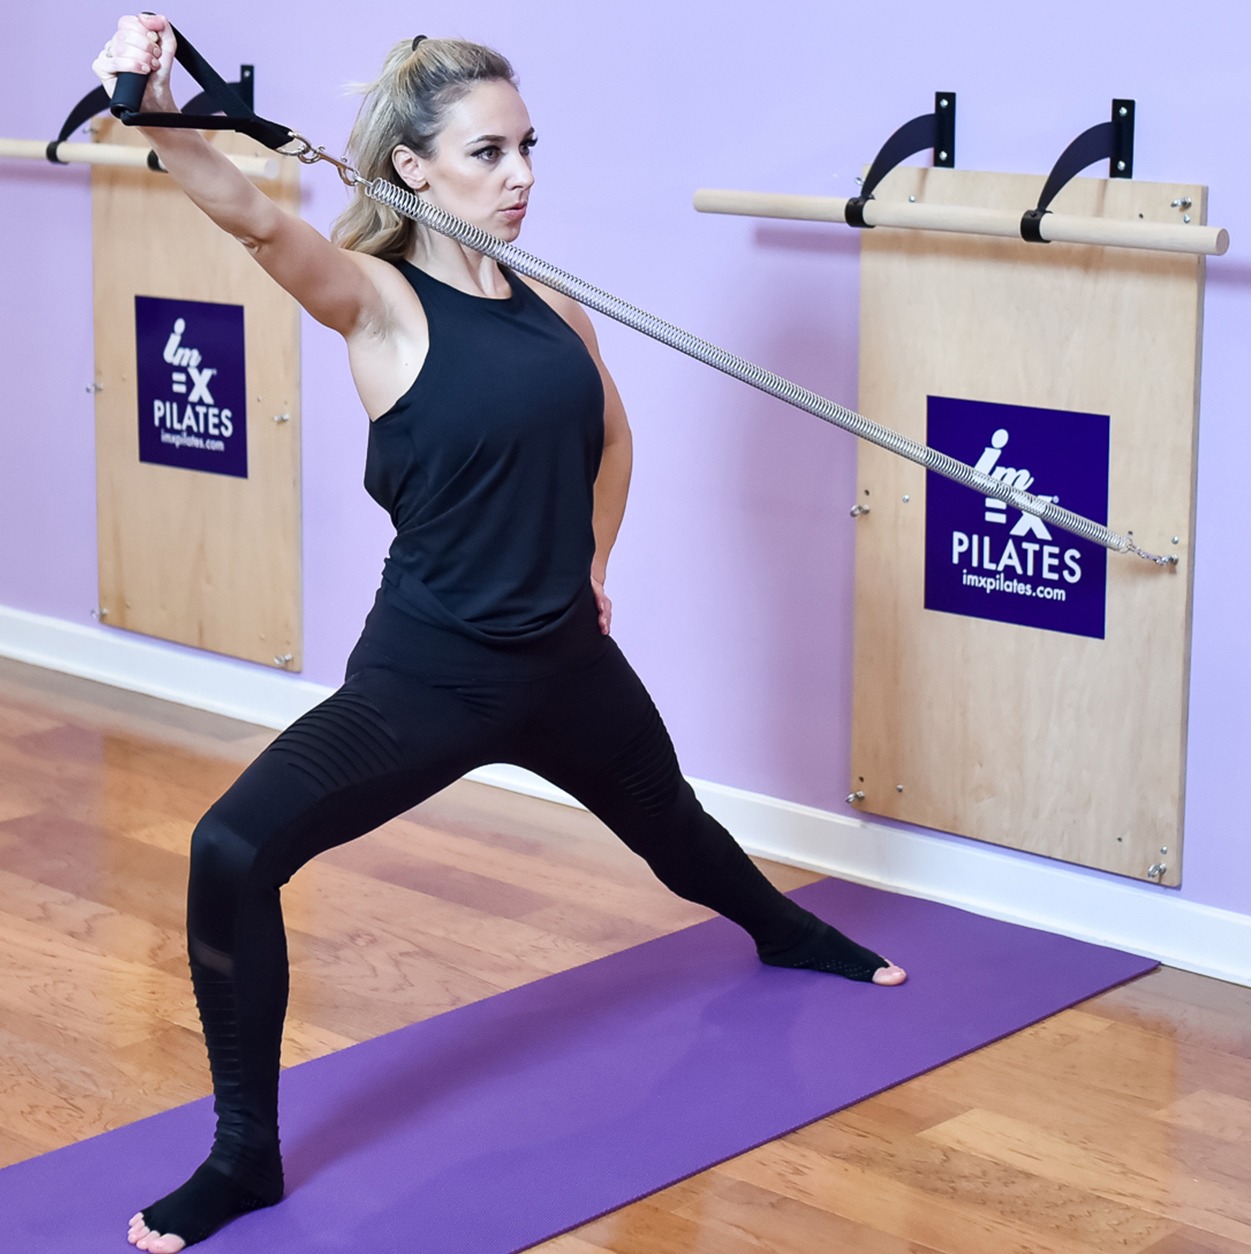
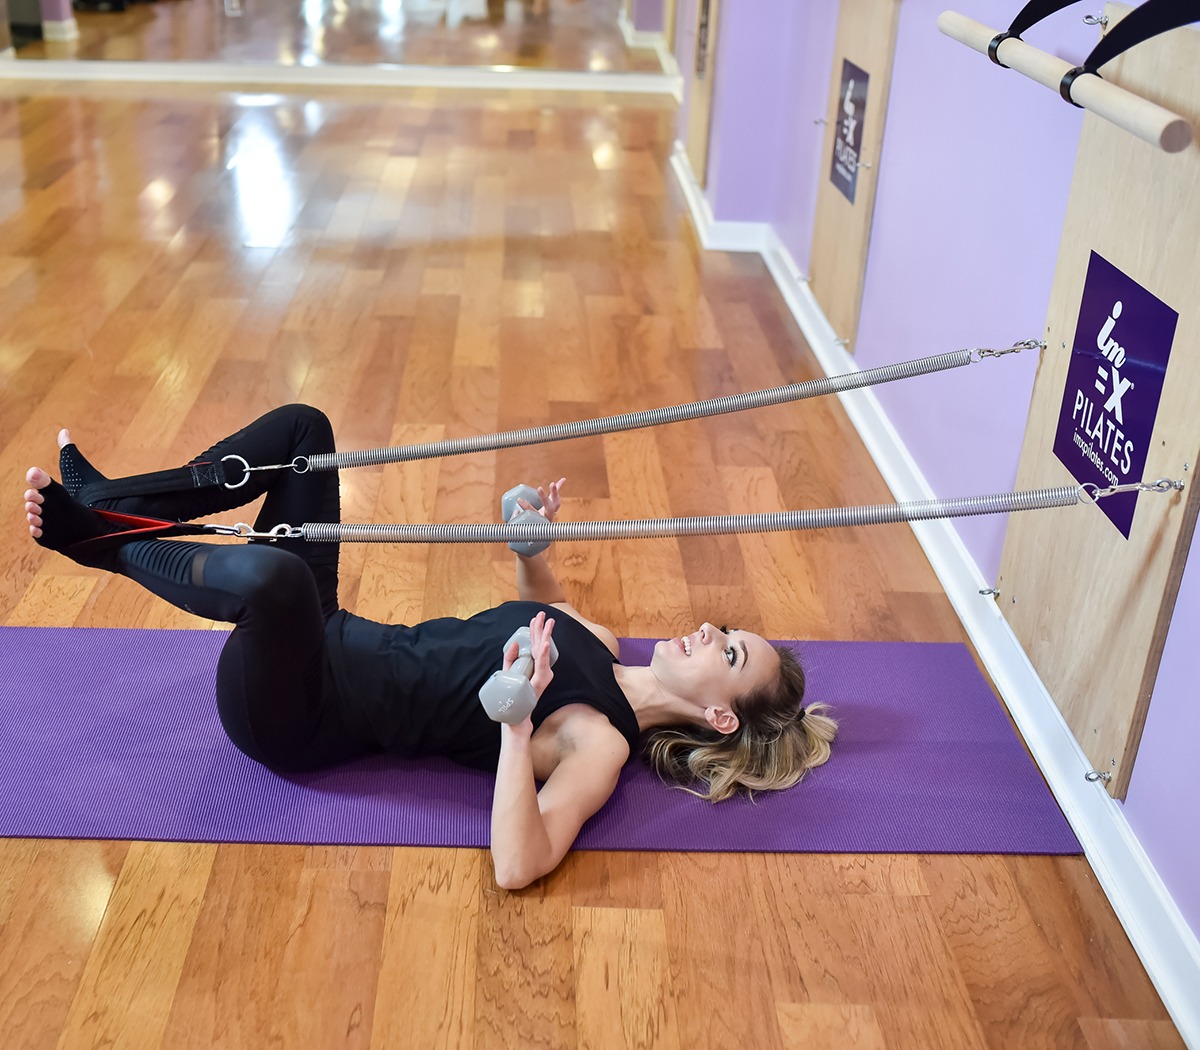
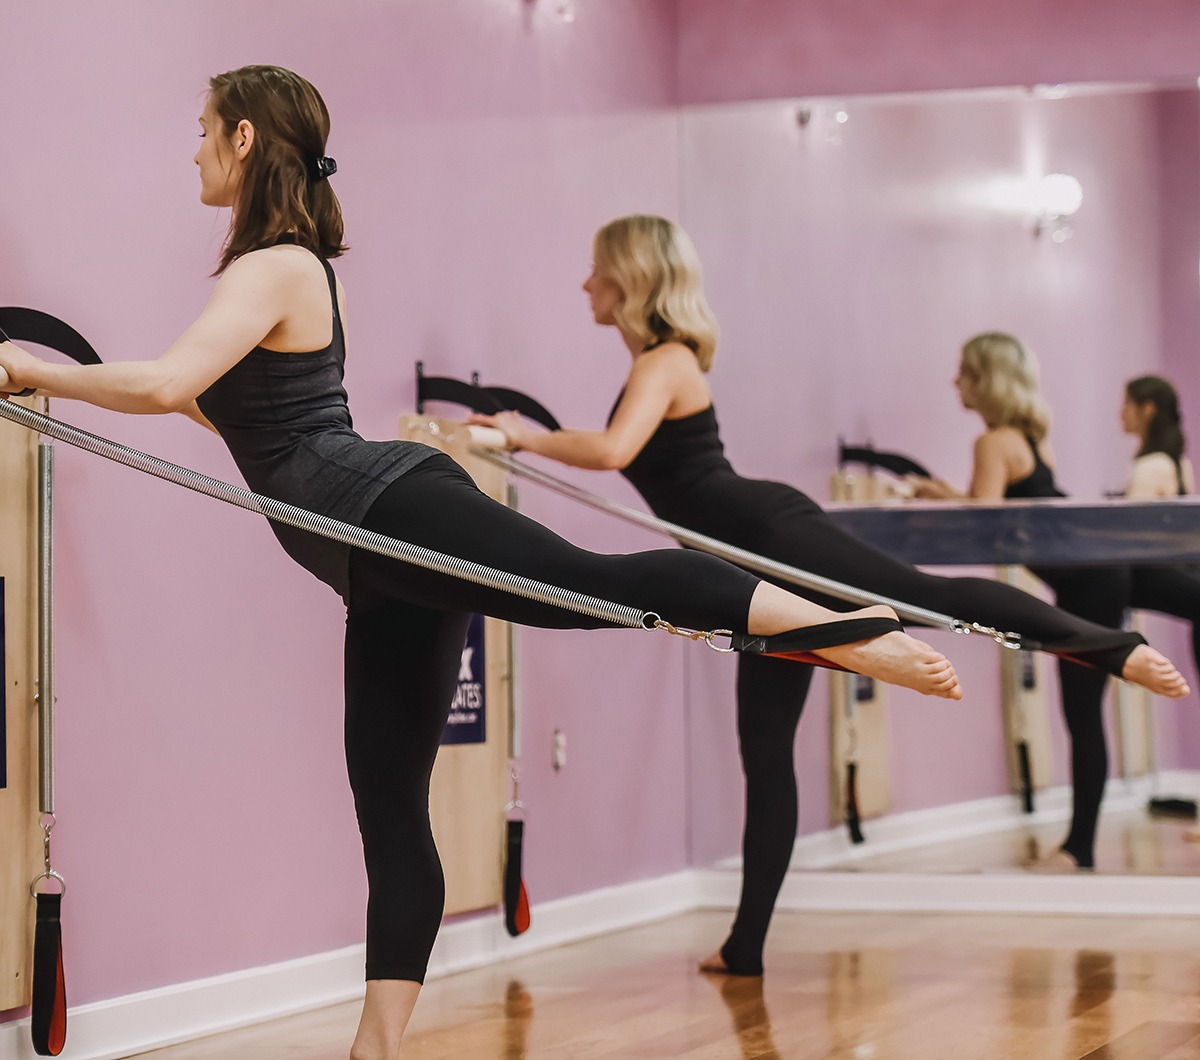
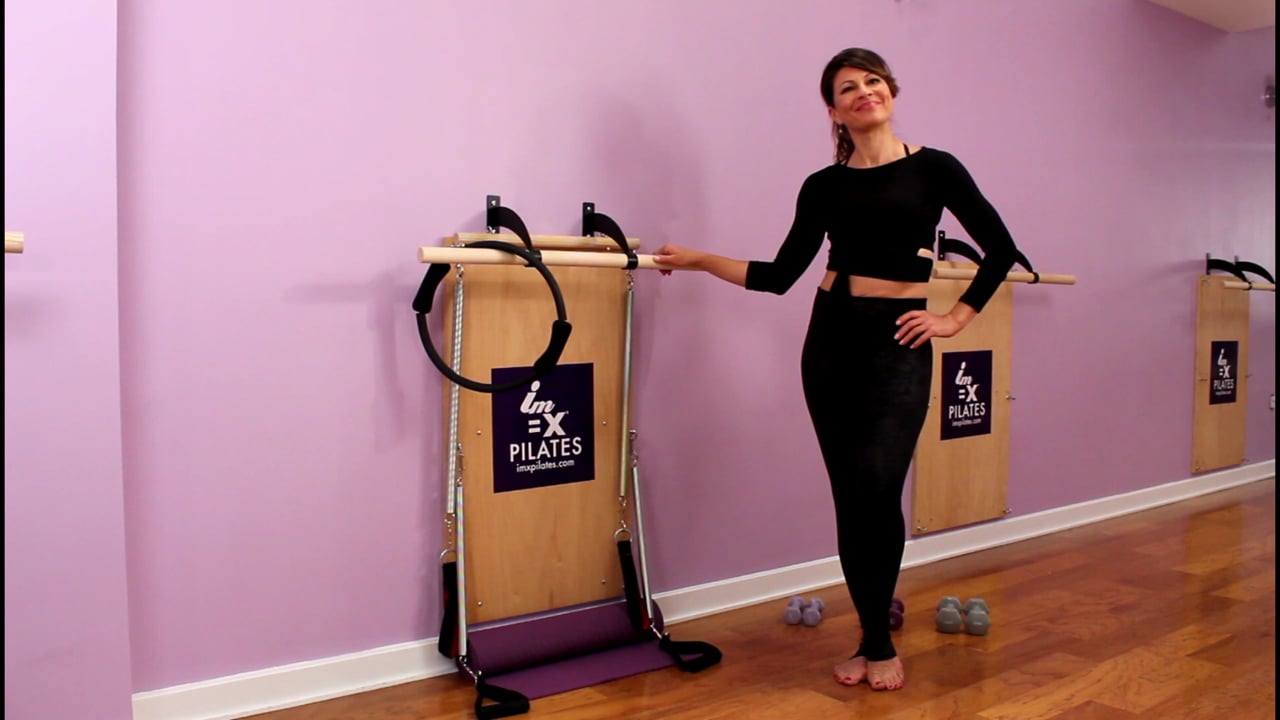
IM=X® Tower and Ballet Bar
Includes frame, 2 sets of springs, 1 pair of foot loops, 1 wooden dowel, 1 pair of workout handles and a ballet bar.
Dimensions: 24′′ wide x 40′′ tall. The user needs a total of approximately 5′ 5″ in total width to perform the variety of exercises.
Ships UPS Ground, box size is 42′′ x 27′′ x 6′′ – weight 32 pounds
All sales files, no refund or exchanges.
Please note that wearable items may need to be replaced over time.
IM=X® Tower and Bar Installation Instructions:
These are general instructions for mounting. Please consult with a local contractor regarding details.
Step 1: Set out all of the components included in your IM=X® Wall Tower shipment. Your IM=X® Wall Tower is designed with mounting holes that are 16” apart so it can be secured into the wall studs. If your wall is NOT constructed with wood studs spaced 16” apart, make sure you have acquired the hardware necessary to attach the tower to your wall.
Step 2: To mount your IM=X® Wall Tower on the wall, first measure from the floor up and put a mark at 5 inches from the floor to the bottom of the Tower. This is the distance from the floor that you want the bottom eye bolt to be set at. This will allow all of your routines to be performed correctly.
Step 3: Hold the IM=X® Wall Tower at the desired height and have someone make sure the board is straight up and down. A level can be used across the top of the board to make sure the tower is mounted square. Mark at least the top 2 holes on each side and drill a 1/8” pilot hole into the studs on those marks.
Step 4: Insert the lag screws provided, and using a wrench or socket then tighten the top 2 bolts into the wall studs. Repeat this step for the remaining mounting holes.
Step 5: There are some extra mounting holes at a width the same as the spring eye mounts. These can be used if there are no wall studs available if necessary.
Step 6: To install the ballet bar, first face the bar upwards and locate the threaded inserts at the top of the IM=X® Wall Tower. Align the holes in the bracket with the threaded inserts in the board and install the provided ј” x ѕ” bolts. Hand tighten until all 4 are installed, and then fully tighten.
Check the eyebolts periodically to assure they are tight into the board.